3. Microphone clips
Clips
The easiest way to attach a microphone to a stand is usually the included clip. Some popular mics use special clips that can be expensive to replace when they break; the Sennheiser MD 421 comes to mind. For the most common microphone sizes and form factors, generic clips are available from various manufacturers.
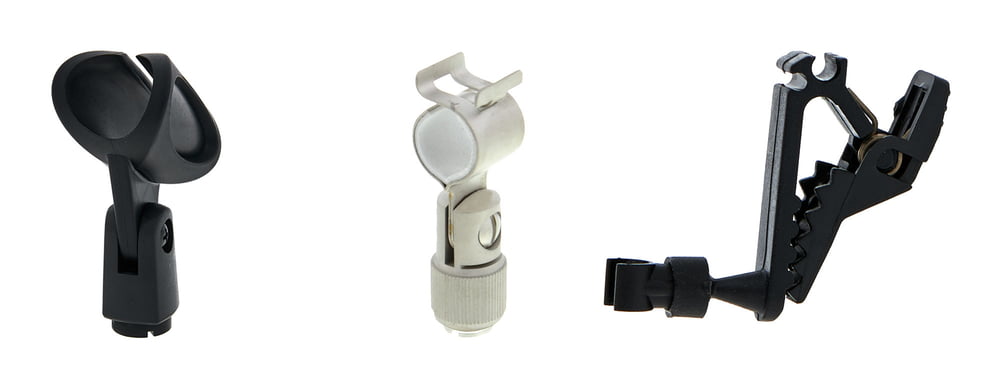
Microphone mounts and microphone clips
Jaw-style clips are another popular option. While they may not look as sleek and unobtrusive as fixed clips, they can adapt to various microphones and different diameters. Some users also prefer jaw-style clips because the cable doesn’t get stuck in them as easily. One drawback is that they require two hands to operate.
Tip: Always keep some spare microphone clips on hand for live gigs. You’re going to need them at some point, guaranteed!
Thread adapters
Microphone stands use two different thread sizes: 5/8“ in North America and 3/8“ in Europe. Most microphone clips are designed for the larger American thread size. They can be mounted on European stands using a thread adapter. These are included with many microphones, but sadly not all.
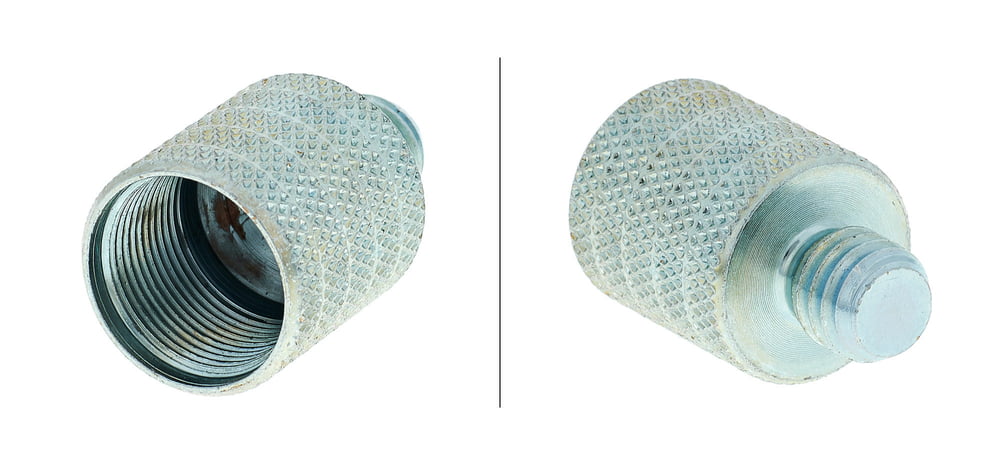
Thread adapters
And they tend to mysteriously disappear like socks in the washing machine.
TIP: It’s a good idea to keep a few extra thread adapters on hand. That’ll save you from running into problems if one has gone missing.
Shock mounts (spider mounts)
Shock mounts are the preferred method for mounting microphones in the studio, and sometimes even on stage. They’re also known as spider mounts. This prevents the microphone from picking up low-frequency noise transmitted mechanically through the stand. Without a shock mount, floor vibrations can ruin an otherwise perfect recording. A shock mount isolates the microphone from the stand and prevents vibrations from reaching the microphone.
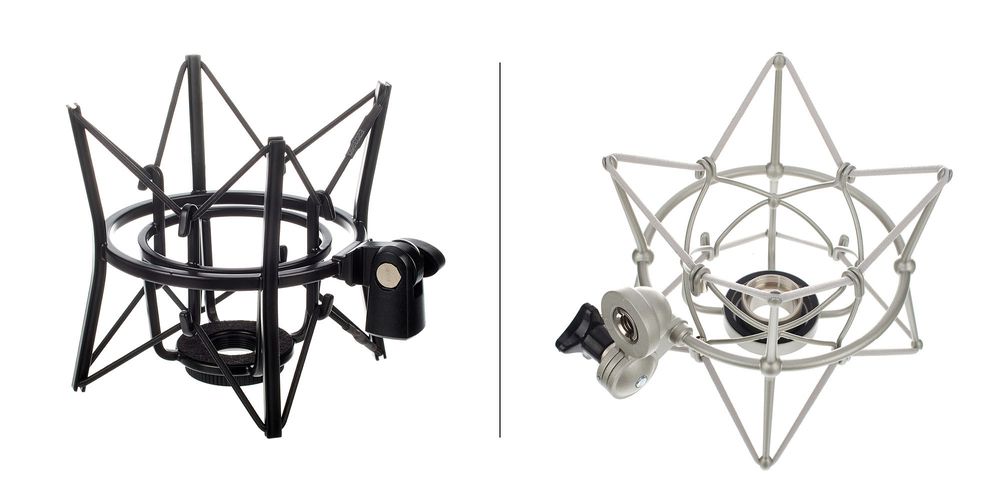
order code 110864 Rode PSM1 and order code 125520 Neumann EA87
Simple shock mounts hold the microphone in a clamp. Better, more expensive shock mounts have threads that bolt onto the base of the microphone. This has the advantage that the microphone cannot fall out of the mount when used in an inverted position. Many engineers like to use microphones upside down for recording singers and rappers. This gives the performer space to move around and use their hands to express themselves, without the mic stand getting in the way. It also leaves space for a music stand for sheet music and lyrics.
Not all studio microphones come with shock mounts included. If the manufacturer doesn’t offer a custom-made mount for the mic, you can use a universal shock mount. Universal mounts use clamping mechanisms to hold the microphone. It’s important to check the minimum and maximum diameter to determine if it’ll fit your mic.
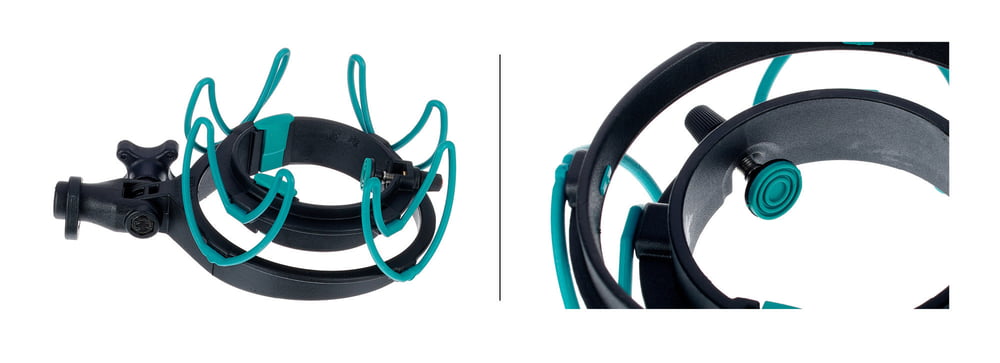
order code 461904 - the t.bone RSM Shockmount
Shock mounts with threads rarely fit microphones from other manufacturers; the thread sizes are almost always different.
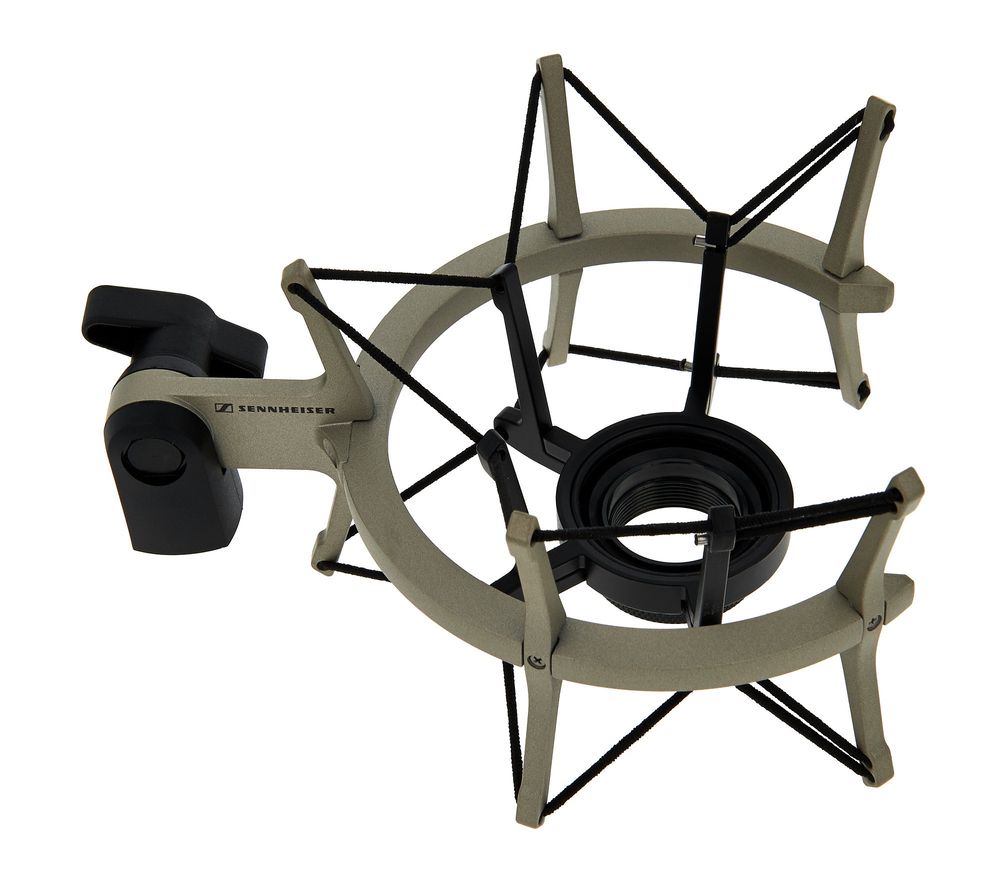
order code 268989 - Sennheiser MKS 4
TIP: Look for complete sets. A set that includes a microphone and a compatible shock mount is usually cheaper than buying them separately.
TIP: Large, heavy microphones and bulky shock mounts can be difficult to mount to the stand. With boom stands, you can use the following trick: Hold the microphone and shock mount in one hand and bring it up to the threads on the boom. Now loosen the screw that holds the boom in position, and thread the boom into the shock mount. With a little bit of practice, this is much quicker and easier than trying to rotate the bulky mic. This technique is also useful if the microphone already has a cable plugged in or has a fixed cable (like the RB-500 ribbon mic).


