6. Reverb
Understanding the Basics of Reverb
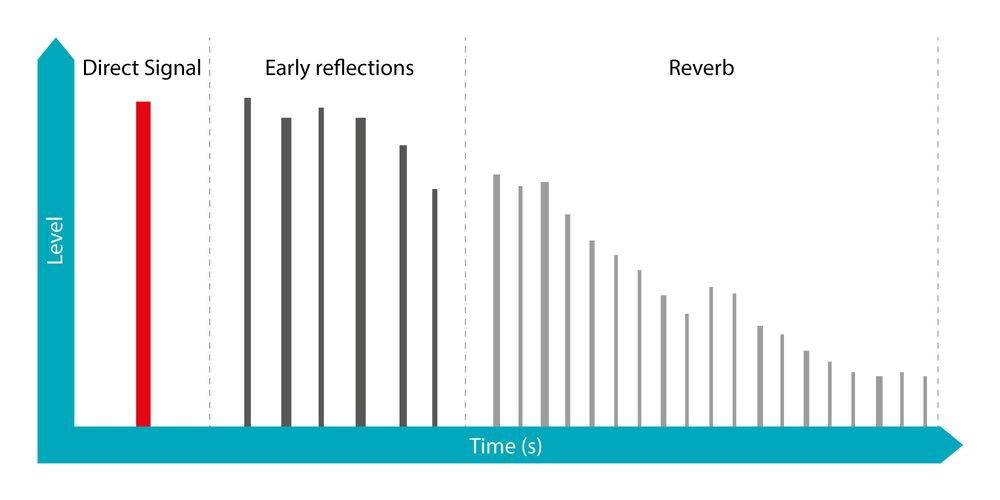
The three phases of a room sound
The diagram above, depicting the fundamental structure of reverb, serves as a valuable aid for comprehending various reverb parameters and settings.
Naturally, the starting point is the direct, unaltered signal, such as a snare drum hit. The initial reflections that immediately follow, often referred to as "early reflections," essentially represent the initial echoes of the original signal. Interestingly, despite being echoes, they are typically too closely spaced in time for us to consciously perceive as distinct echoes due to their short time gap.
Here's an experiment for you:
Take that "snare hit" or any distinctive sound, and run it through your reverb unit. Most digital devices include a parameter called "early reflections." Create a loop to make the signal continually pass through the reverb effect. Now, start by increasing the "Pre Delay" parameter, which is the time between the original signal and the first reflections. Pay attention to the sound. At what point do you perceive a "double hit" or distinct echoes? In general, this effect becomes noticeable when the "Pre Delay" reaches around 50 milliseconds. This is near the limit of our ear's ability to distinguish individual reflections, somewhat like how our eyes can't distinguish individual frames when you flip through a book quickly (the "flipbook effect").
After the "early reflections," you enter the main reverb phase, where you encounter a dense series of reflections. These reflections are usually quieter than the early ones and have a more irregular pattern. Musicians and sound engineers can often adjust the density of these reflections, which is commonly known as the "Density" parameter. They can also control how irregular these reflections are, often referred to as "Diffusion." These settings allow for a wide range of reverb textures and characteristics.
Here's a tip:
- Take 1-2 hours, whenever you get some time.
- Load your sequencer program with a reverb plugin or sit in front of your 19" rack reverb unit (with a display).
- Go through various reverb presets.
- Listen closely to the differences.
- Now, look at what has changed in the settings for each one.
By experimenting with reverb settings, you'll gradually gain a better understanding of this complex effect. Reverb is intricate, and achieving a natural sound through artificial means demands considerable effort and expertise.
Origin
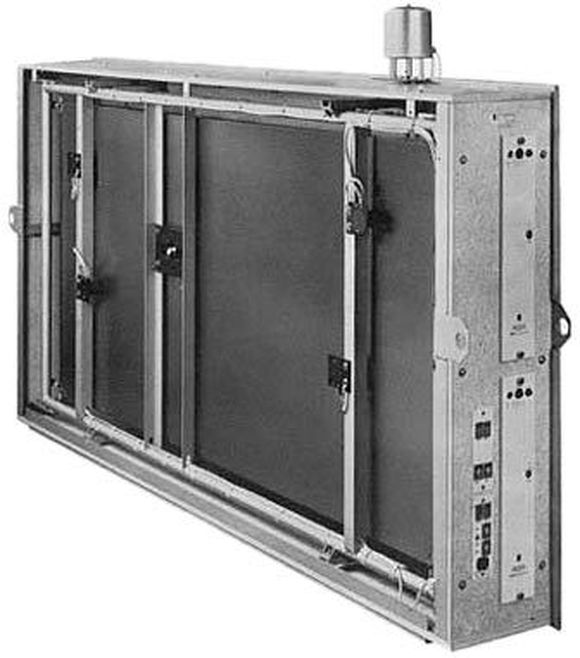
In the early days, reverb was achieved using specially designed rooms with loudspeakers and microphones to create a natural reverb effect.
Reverb plates used large metal plates, but they were not practical for live performances.
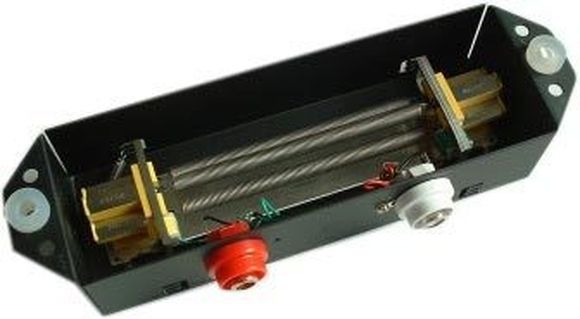
Reverb springs or spirals, although producing unique sounds when struck, couldn't replicate high-quality reverb. Nevertheless, they found their niche in vintage guitar amplifiers.
So, for quite some time, there weren't many versatile options, which, in my opinion, can be heard in earlier recordings!
As technology advanced, particularly with the emergence of digital technology, reverb possibilities improved and became more convenient, greatly benefiting the world of audio effects.
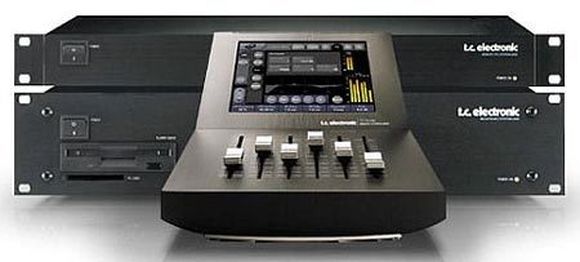
Today, modern reverb units are equipped with advanced algorithms, essentially complex mathematical functions that closely mimic natural sound. These effects are available both in hardware units and as software plugins for digital audio workstations (DAWs). However, when using software plugins, it's essential to consider computational demands, particularly if your system lacks additional processing hardware.
For a visual representation of the concepts discussed, here are some images of a reverb plugin, specifically the IR-1 convolution reverb by Waves. The loaded reverb effect in these images is labeled "Snare-Plate." By observing the waveform representation in conjunction with the adjusted settings, you can better understand the practical aspects of reverb and its parameters.
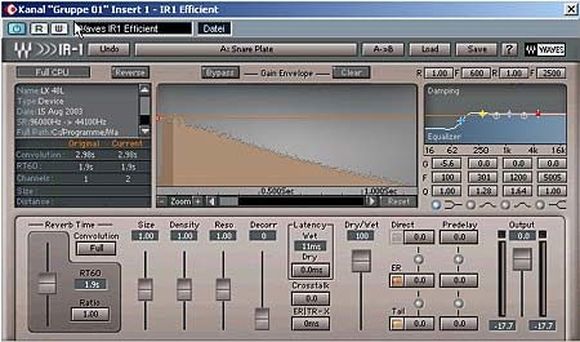
IR-1 Efficient with medium reverb time and density.
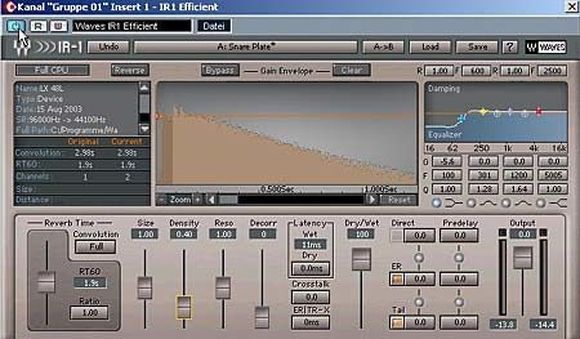
IR-1 Efficient with low density (notice the reverb tail!).
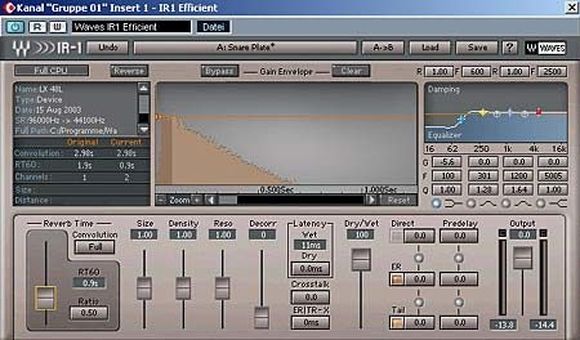
IR-1 Efficient with shorter reverb time and medium density; the reverb sounds "tighter."


